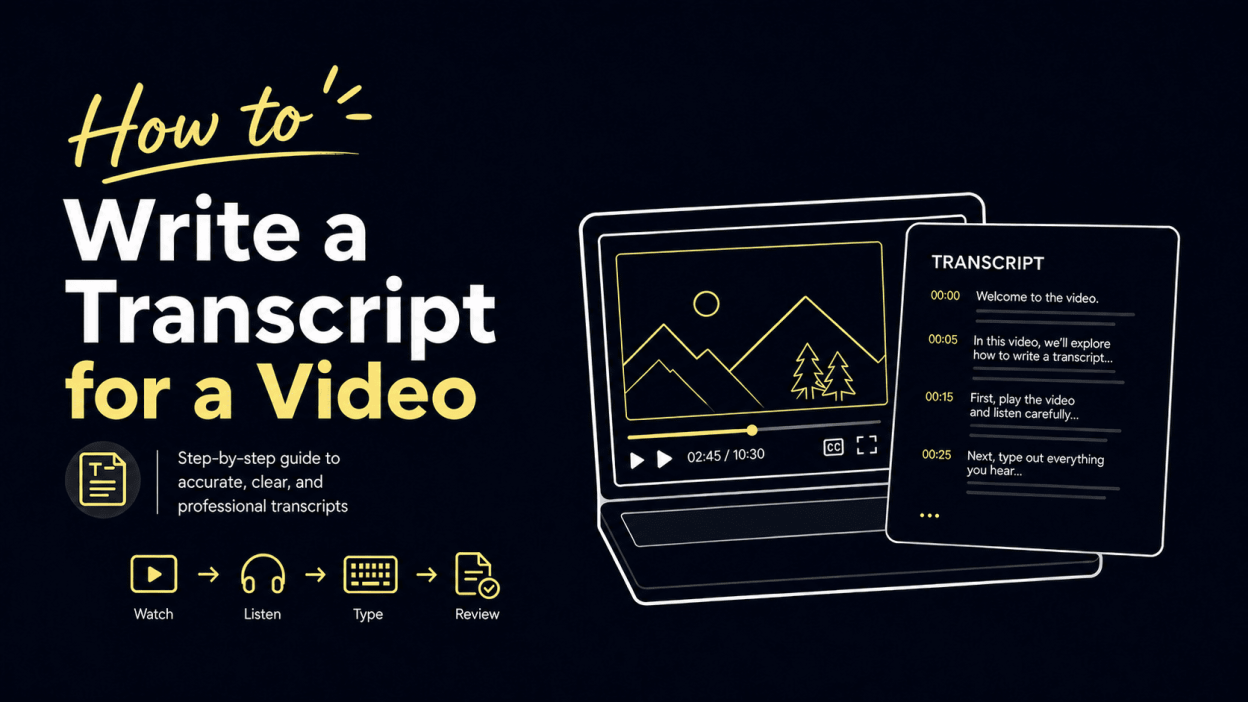
Every video you publish contains valuable spoken content that most of your audience will never search for, quote, or repurpose-unless you turn it into text. Writing a transcript for a video is the bridge between what people hear and what search engines, readers, and your own team can actually use. This guide walks you through the entire transcription process, from choosing a method to formatting and finalizing your document.
Key Takeaways
- A transcript is the full written text of everything said in an audio or video file. It improves accessibility for hearing-impaired individuals, boosts SEO by making video content indexable, and makes it far easier to repurpose recordings into blogs, social posts, and summaries.
- The transcription process follows a clear path: prepare the video, choose a transcription style, transcribe the spoken audio, then edit and format with speaker labels, timestamps, and non-speech annotations.
- You can transcribe video to text manually for maximum control, or use AI powered transcription tools to convert video or audio files quickly and then polish the output for high accuracy.
- Transcripts can be created directly in tools like Microsoft Word or Google Docs, then reused for closed captions, subtitles, and written content such as blog articles or social media posts.
- Transcription can save teams time by streamlining content reuse and can increase social media engagement through shareable, quotable content.
What Is a Video Transcript and Why It Matters
A video transcript is the complete text version of every word spoken in a recording-whether that’s a YouTube video, a podcast episode, a webinar, or a training video recording. It captures the spoken content in full, including who said what and, in many cases, relevant non-speech sounds like applause or music.
Transcribing a video is not the same as taking notes. Notes summarize key points. A transcript aims to represent the original audio faithfully so that anyone can read what was said without pressing play. Transcription transforms audio into a written document that stands on its own.
Why does this matter? First, transcripts support accessibility for people who are deaf or hard of hearing, allowing them to read along instead of relying only on sound. Second, transcribing video content enhances SEO because search engines can index text but cannot listen to audio. Videos with transcripts become more findable in Google and YouTube search results, adding long-tail keywords and context that match real queries. Third, text versions of videos help extract quotes and create summaries-turning a 45-minute recording into a blog article, show notes, or highlight clips without replaying the entire file.
Decide How You’ll Transcribe: Manual vs. AI vs. Human Services
You have three main options for how to transcribe a video: do it yourself, let AI handle the first draft, or hire a professional service. Each has clear trade-offs in speed, cost, and accuracy.
Manual transcription means playing the audio or video and typing everything yourself. You get full control over every word, and it’s free aside from your time. The catch: the average person takes four hours to transcribe one hour of audio. Manual transcription allows for high accuracy but is time-consuming, making it best for short clips or content where precision matters more than speed.
AI transcription tools can automatically transcribe video files in minutes. These video to text converter platforms let you simply upload a file or simply paste a link, and they generate transcripts almost instantly. AI transcription can produce results in minutes, but the output usually needs proofreading-especially when there are accents, technical jargon, or background noise. Tools like HappyScribe support transcription in over 150 languages, giving you broad coverage across content types.
Professional human services transcribe directly from uploaded video or audio, often adding speaker labels and time markers. Professional services offer high accuracy in transcription tasks and are the right choice for legal, medical, or research projects where errors carry real consequences.
When to choose each:
- Manual → short, simple recordings where you need total control
- AI → informal content, fast turnarounds, tight budgets
- Professional → high-stakes recordings, multi-speaker interviews, critical business content
Choose the Right Transcription Style for Your Video
Your transcription style determines how closely the written text follows the spoken words and how polished the final document reads. Common types of transcription include verbatim and intelligent verbatim, but there are other options too.
Verbatim transcription captures every utterance. Full verbatim includes every utterance, including filler words like “um,” “uh,” false starts, laughter, and background comments. This style is used in legal depositions, qualitative research, and any context where how something was said matters as much as what was said.
Intelligent verbatim (also called clean verbatim) keeps the speaker’s meaning intact but removes verbal tics and false starts. Intelligent verbatim removes repeated words, self-corrections, and filler sounds, producing a transcript that reads more smoothly. This is ideal for marketing videos, training content, and most business recordings.
Edited transcription goes a step further, reorganizing or tightening the wording so it reads like a polished article. Edited transcription distills content to essential highlights while staying faithful to the original meaning-useful when the transcript will be published as text online.
Phonetic transcription is a more specialized style that captures sounds and pronunciation details rather than standard spelling. It’s rarely needed outside linguistics or speech therapy.
To decide which style fits, consider your audience, your purpose (internal notes vs. published text), and whether spoken quirks add value to the recording.
Prepare Your Audio or Video for Transcription
Good preparation cuts your editing time significantly and reduces the number of sections you’ll need to replay. Clear sound quality is crucial for accurate transcripts, so investing a few minutes upfront pays off.
Start by checking the recording quality before you transcribe video. Confirm that volume levels are even, there isn’t constant background noise, and speech isn’t heavily distorted. Using background noise reduction techniques enhances audio quality for transcription-many free tools can denoise a file before you begin. Transcription software can also enhance audio quality for clarity during processing.
Convert the file into a convenient format if needed. Most tools accept MP4 for video files and MP3 or WAV for audio files. If your original is in a proprietary format like MOV, convert it so playback is smooth and your chosen tool can handle it.
Do a quick listen-through to identify the number of speakers, accents, technical jargon, and any sections with overlapping speech. Overlapping speech and low-quality recording can impair transcription accuracy, so flagging trouble spots early helps you plan. Gather reference material-slides, agendas, speaker lists-so you can spell names correctly and apply accurate speaker labels from the start.
Step‑by‑Step: How to Transcribe a Video Manually
This section walks through a repeatable workflow anyone can follow using common tools like a media player and a word processor.
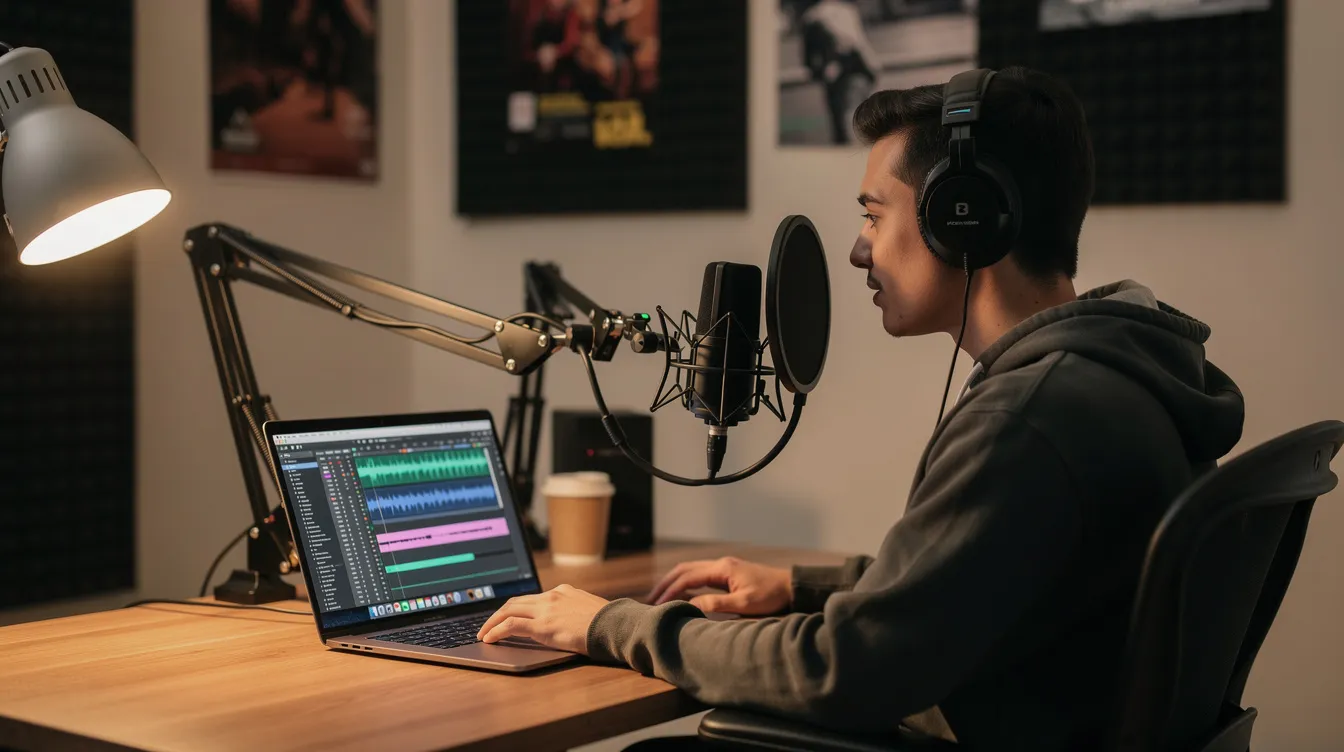
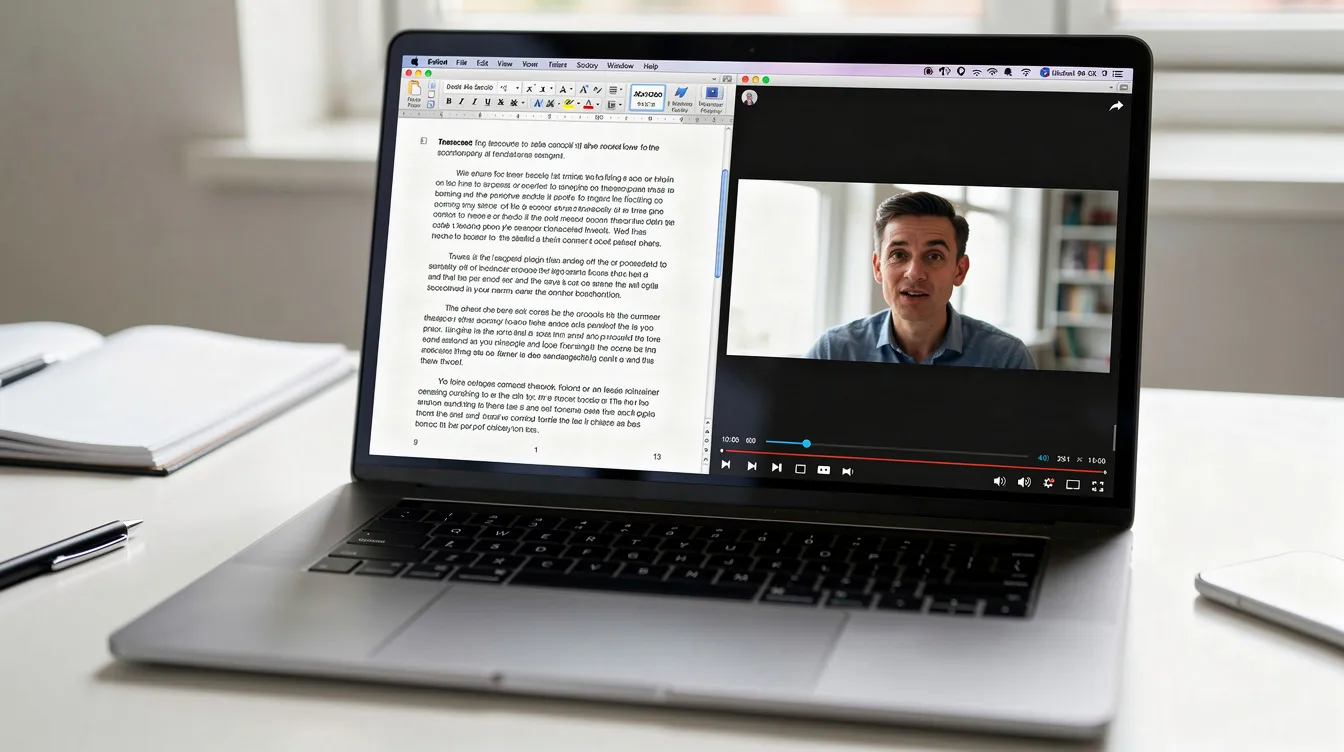
Set up your workspace. Open the video in a player that allows easy pausing and rewinding (VLC is a popular free option). Open a blank document in Microsoft Word or Google Docs side-by-side. If you’re working on a single monitor, split the screen so you can see both windows.
Play, pause, type. Play a few seconds of the video, pause, then type what you hear. Use keyboard shortcuts to pause and play-this small habit saves enormous time over hours of transcription. Rewind short segments whenever a phrase is unclear.
Work in passes. Don’t try to produce a perfect transcript on the first attempt:
- First pass – capture all words, even roughly. Don’t stop to fix spelling.
- Second pass – correct spelling, punctuation, and fill in missed phrases.
- Final pass – tidy formatting, add speaker labels, and insert timestamps.
This multi-pass approach lets you focus on one task at a time instead of juggling everything at once.
Save frequently. Back up your working file, especially for long recordings like 60-minute webinars or online courses. Save the document as a standard text file or DOCX so it’s easy to access later. Keep your raw transcript and edited versions as separate files-version control prevents lost work.
Format Your Transcript: Speaker Labels, Timestamps, and Non‑Speech Sounds
Good formatting makes a transcript easy to scan, quote, and sync with a video player or closed captions. Proper formatting improves the usability of transcripts for every downstream use case.
Speaker labels distinguish who is talking. Use names (e.g., Anna:) or roles (Host:, Customer:) and keep them consistent from start to finish. Speaker labels should be formatted in bold so readers can scan the document quickly and identify each voice at a glance.
Timestamps help readers jump to exact points in the audio or video. Timestamps can be added at regular intervals or at speaker changes-for example, inserting [00:03:12] every time a new person speaks or every 30 seconds in a monologue. Use timestamps to match transcript sections with audio so that anyone reviewing the document can locate the corresponding moment in the recording. Transcripts may include timestamps to help users navigate content efficiently.
Non-speech sounds provide critical context. Non-speech sounds should be included in transcripts if they provide context-mark elements like [laughter], [applause], [music], [phone rings], and sound effects in square brackets. When speech is unclear, use an [inaudible] tag to indicate unclear speech in transcripts rather than guessing. For accessibility and captioning purposes, these annotations are especially important so viewers who cannot hear still understand what is happening.
Write Clearly: Grammar, Punctuation, and Readability
Even though you are transcribing speech, the final transcript should be comfortable to read in text form-unless strict verbatim is required. A good transcript should accurately represent spoken content and be easy to read.
Add punctuation thoughtfully. Spoken language rarely comes with natural periods and commas. Insert full stops, commas, and paragraph breaks so long spoken sentences become clear written ones without changing the meaning. Breaking text into short paragraphs makes it easier to read and prevents walls of unbroken text.
Handle fillers deliberately. Whether you keep or remove “um,” “you know,” and repeated words depends on your chosen transcription style. In intelligent verbatim, strip them out. In full verbatim, leave them in. Follow any project guidelines your client or team has set.
Normalize numbers and dates. Write “2024” instead of “twenty twenty-four” and “27 March 2024” instead of “March twenty-seventh” unless your verbatim rules require the original spoken form. This makes the document scannable and consistent.
Check spelling and consistency. Pick US or UK English and stick with it. Capitalize names, brands, and places correctly. Run a final spellcheck. These small steps turn a rough transcript into a professional, publishable document.
Transcribing Directly in Microsoft Word and Other Tools
Modern word processors can now convert audio or video to text inside the document itself, speeding up the transcription process considerably.
Microsoft Word for the web (with a Microsoft 365 subscription) lets you upload an audio or video file and automatically transcribe it in a side panel. You can then insert the transcript into the document, edit the text, adjust speaker labels, and correct errors for higher accuracy. Editing tools allow quick fixes to generated transcripts-renaming speakers, splitting paragraphs, and correcting misheard words.
Similar workflows exist in other transcription software. Many platforms let you simply upload files or paste a link to a YouTube video or a Google Meet recording, auto-transcribe, then edit and export as DOCX, TXT file, SRT, or VTT files. Some tools let you transcribe directly from a URL, so you don’t even need to download the video first.
After exporting, you can reuse the same transcript for blog posts, to create subtitles, or to generate short clips with on-screen text. The transcript becomes a flexible document you can adapt for any format-saving your team hours of redundant work.
From Transcript to Captions, Subtitles, and Searchable Text
A well-written transcript can power many text-based assets beyond the original video. Once you have a clean, accurate transcription, repurposing it takes a fraction of the time it took to create.
A full transcript is a continuous block of text that captures all spoken content. Caption files (SRT, VTT) are different-they include timestamps and line breaks designed to display as text overlays on screen. To turn a transcript into captions, break lines into short segments, sync them with timecodes, and confirm that each subtitle is readable within its display time. Transcription tools can generate subtitles for videos automatically, giving you a solid starting point that you then refine.
Closed captions go further by adding speaker labels and sound descriptions so that people watching on mute or with hearing impairments can fully follow the video content. Descriptive transcripts should include both audio and visual information-describing on-screen actions alongside the dialogue for the most complete accessible experience.
You can also repurpose the same transcript into searchable text online. Post it under an embedded video on your site, use it as a base to create summaries and articles, or pull quotes for social media posts. Transcription can increase social media engagement through shareable content that highlights the most compelling moments from your video. This single document can feed your content pipeline for weeks.
Review, Edit, and Finalize Your Transcript
This is the final quality check that ensures the transcript truly matches the audio or video before you share or publish it. Finalizing a transcript requires a last review for accuracy-skipping this step risks publishing errors that reduce viewer trust in both the speaker and the content.
Proofreading while listening to the audio is important for accuracy. Do a final read-through at normal playback speed, correcting mis-heard words, misattributed speaker labels, and missing phrases. Editing improves transcript accuracy and clarity, turning a rough draft into a reliable document.
Check consistency throughout: same style of timestamps, same spelling of names, and uniform formatting of headings, paragraphs, and sound descriptions. Final quality checks for transcripts ensure correct speaker labels and consistent formatting across the entire file.
Save a clean “final” version. If needed, keep a separate version adapted for different uses-a lightly edited transcript for internal notes and a polished one for your website, for example. You can also save the file in multiple formats: a txt file for plain text, DOCX for editing, and SRT for captions.
A carefully written transcript turns any audio or video into a flexible, searchable text asset that keeps delivering value long after the recording ends.
FAQ
Below are answers to common practical questions that go beyond the step-by-step sections above.
How long does it take to transcribe a 1‑hour video?
The average person takes four hours to transcribe one hour of audio when working manually with clear speech and a single speaker. If there are multiple speakers, heavy accents, or background noise, expect it to take longer-sometimes five to six hours. Using AI to convert video to text can reduce the first-draft time to just a few minutes, but you should still budget 30 to 60 minutes for review and editing. Add extra time for formatting tasks like inserting speaker labels, timestamps, and sound descriptions, as well as any style-specific requirements from your client or team.
Can I transcribe audio without the video file?
Yes. You can transcribe either audio or video, and the transcription process is nearly identical when working from a pure audio file like MP3 or WAV. Many tools described as video to text converters also accept audio files without issue. The main limitation is that you won’t see visual cues-gestures, on-screen text, or slides-so you may need extra attention to identify speakers and note non-speech sounds accurately. If visual context matters, request the video file or ask for a slide deck to reference alongside the audio.
What is the difference between a transcript and closed captions?
A transcript is a continuous block of written text that captures all spoken content-and often key sounds-from an audio or video recording. It’s typically read as a standalone document. Closed captions are synchronized text segments that appear on screen with the video, each tied to precise timestamps and broken into short, readable lines. Captions may use slightly simplified language and must respect timing and character-count limits, while a transcript can remain in full prose format. Both serve accessibility, but captions are designed for real-time viewing and transcripts are designed for reading, searching, and repurposing.
Do I always need timestamps and speaker labels?
Timestamps and speaker labels are optional but highly recommended for multi-speaker content such as interviews, panels, Google Meet recordings, and podcast episodes. For simple solo videos-like a short two-minute explainer-basic paragraph breaks may be enough, and you can skip speaker tags entirely. However, include at least occasional timestamps if the transcript will be used for editing, creating short clips, or syncing captions later. When in doubt, add them; they’re easy to remove but tedious to insert after the fact.
How accurate are AI transcription tools today?
Modern AI models can reach high accuracy on clear recordings with standard accents, often achieving 95–99% accuracy in studio-quality conditions. However, accuracy drops into the 75–85% range when there’s heavy background noise, overlapping talk, or niche terminology. Research has also shown that non-native English accents can produce word error rates of 30–50% compared to just 2–8% for native speakers. Human review remains essential if the transcript will be used for legal records, research data, or published materials where mistakes are unacceptable. A practical workflow is to automatically transcribe first, then carefully proofread and edit the text for the best balance of speed and reliability. You can then download or export the polished transcript in any format you need and translate it into additional languages as required.